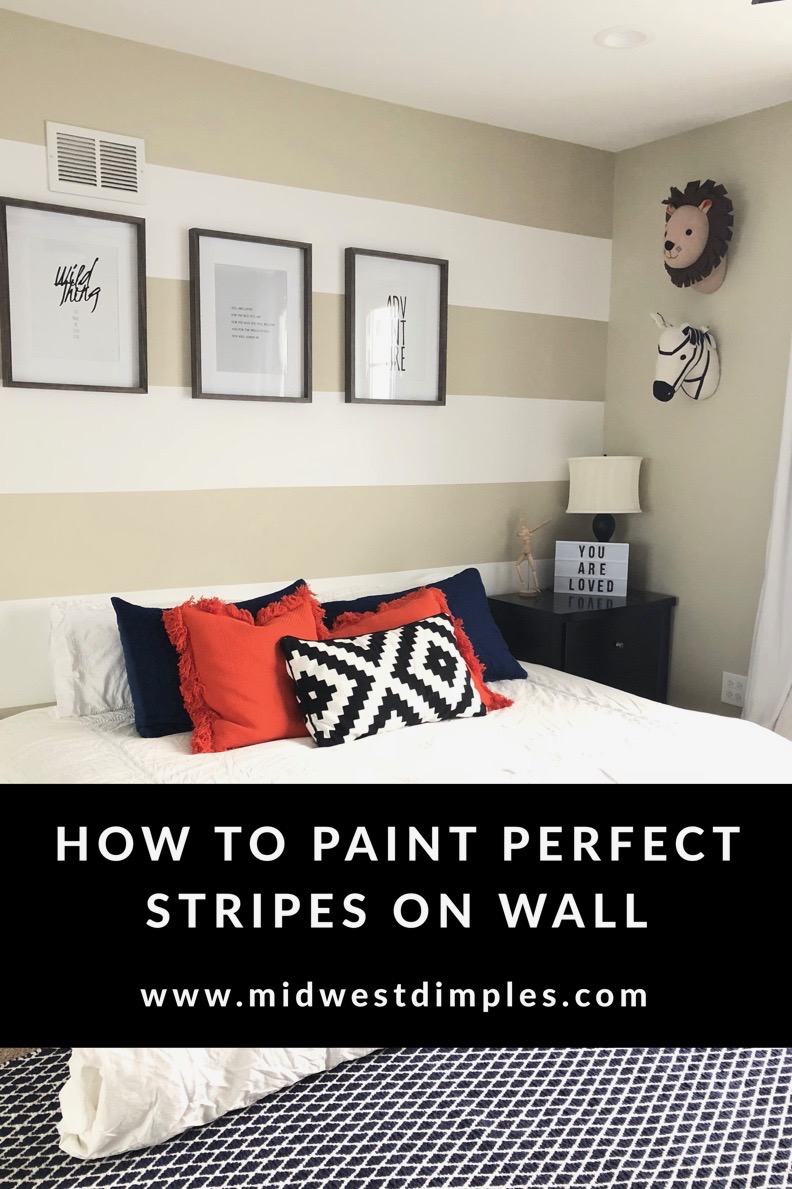
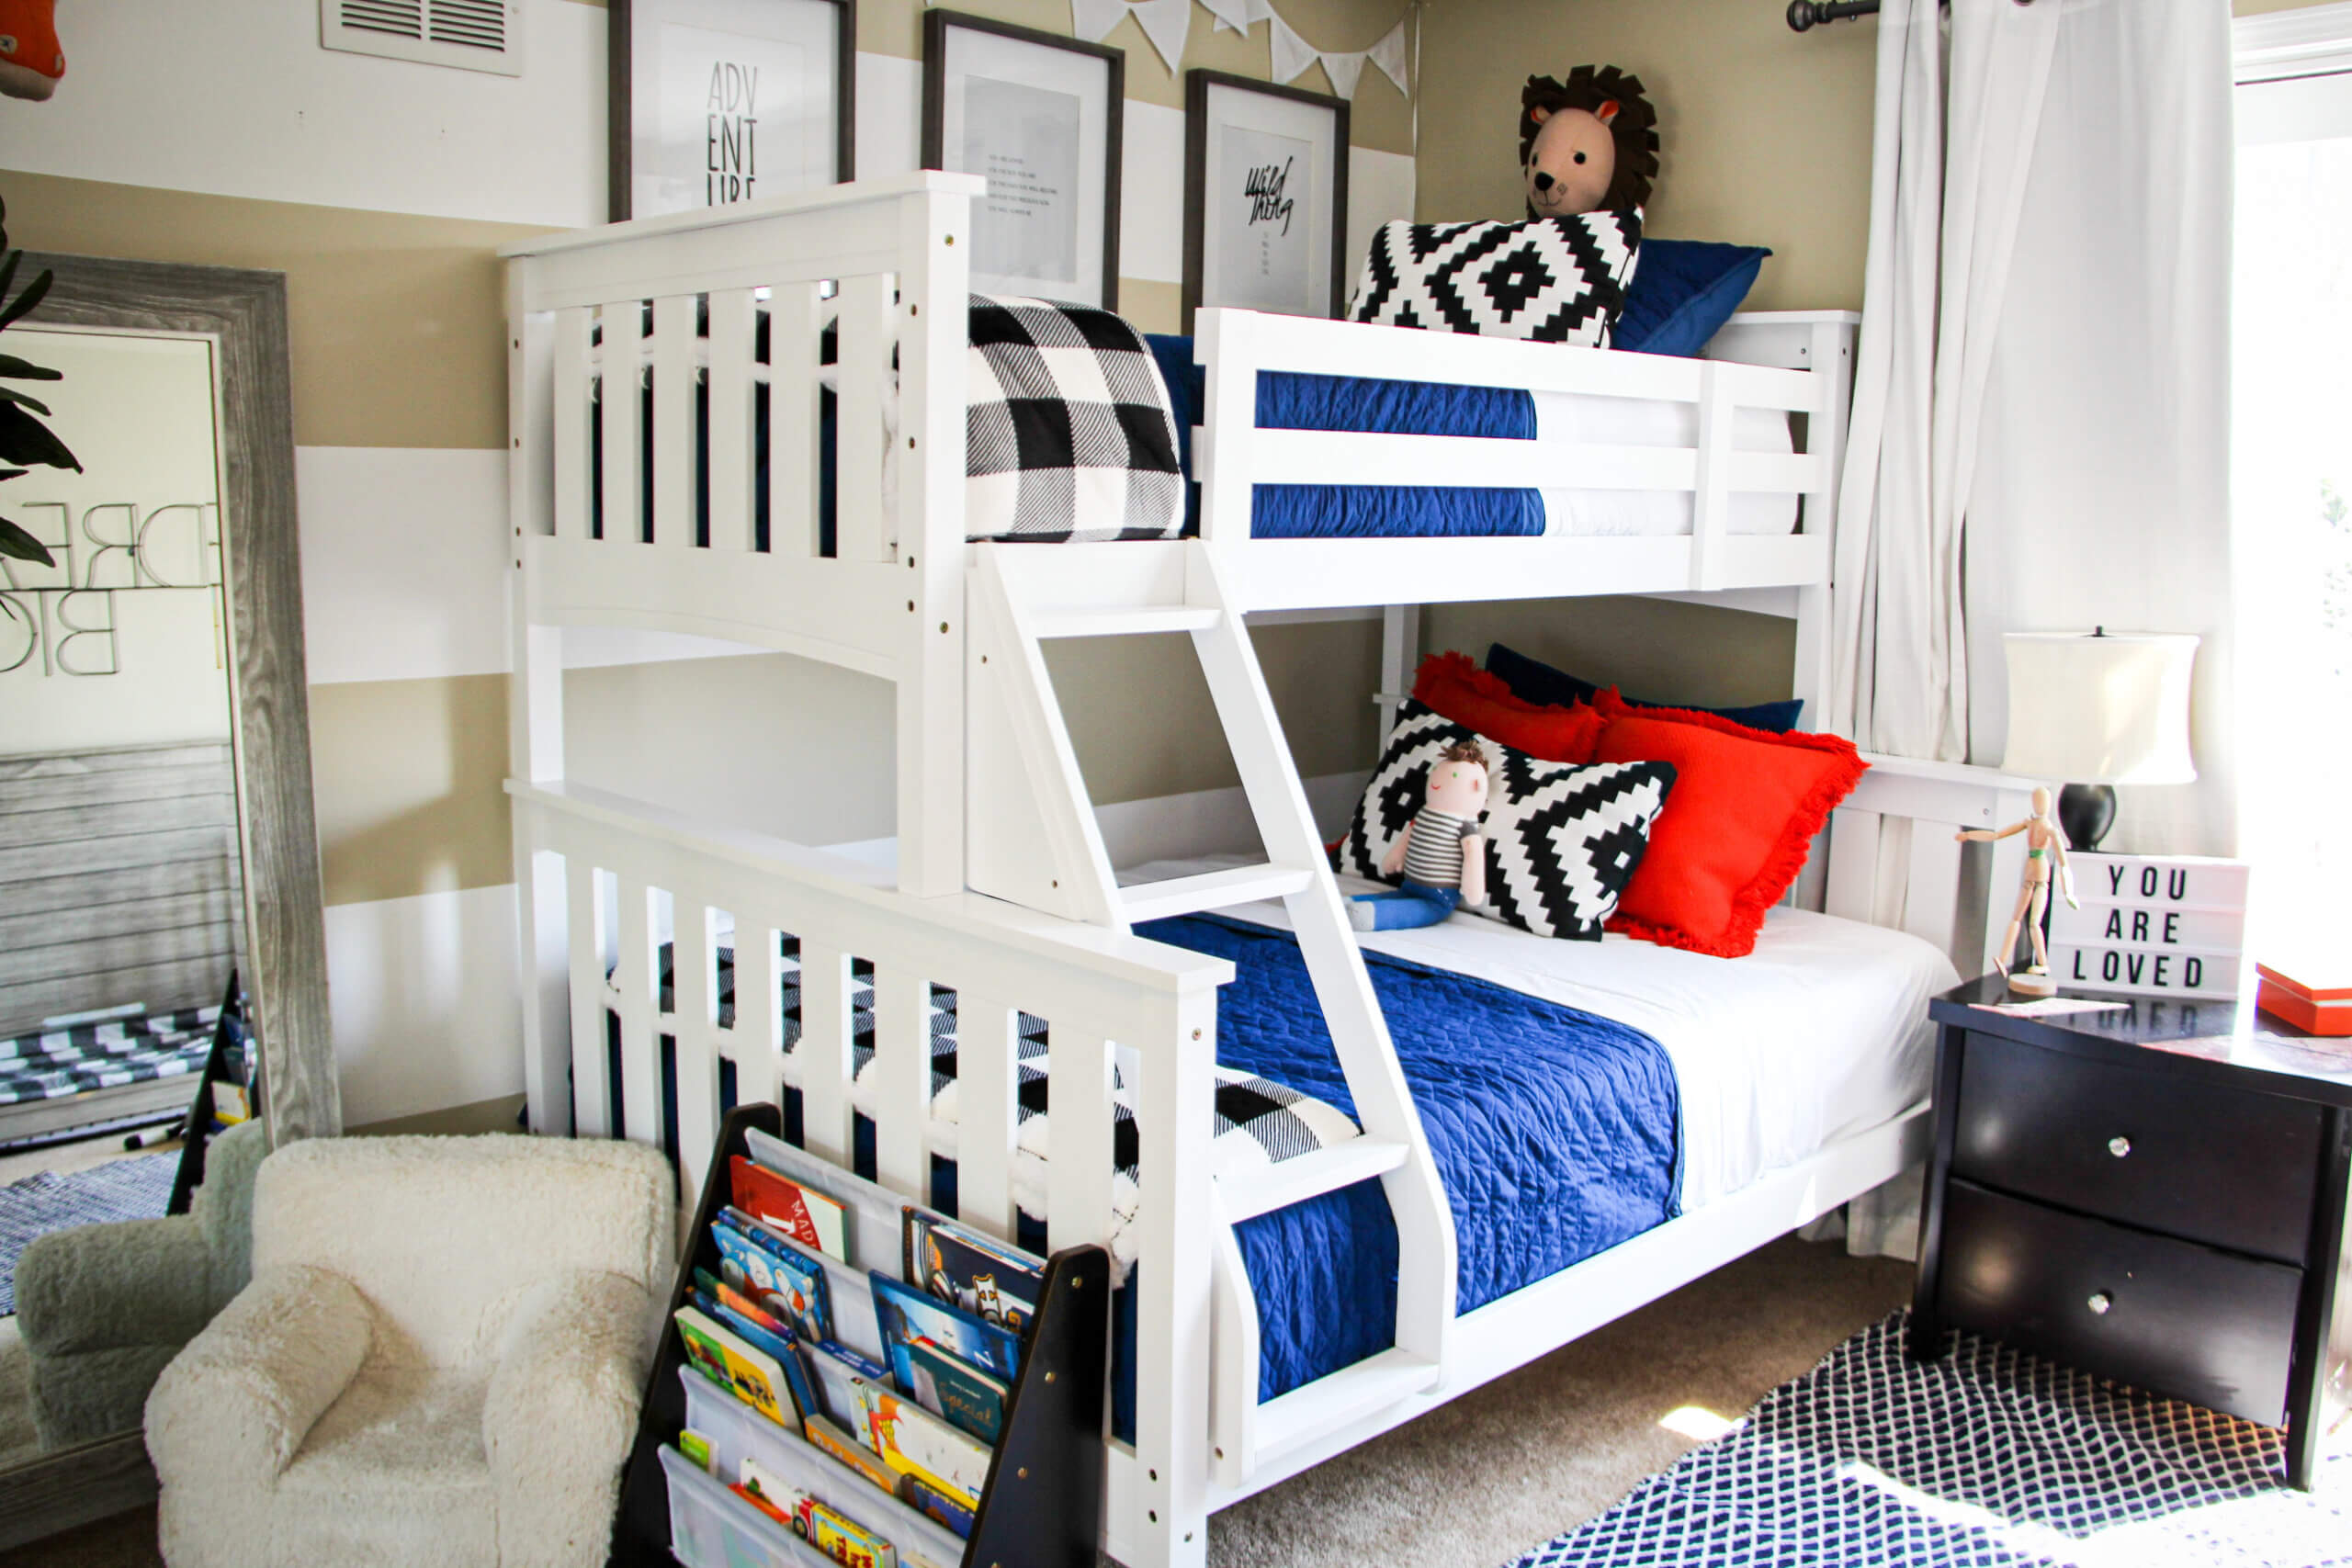
I love doing stripes for an accent wall, brings a visual POP or a focus wall for your room. Painting is cheap, you just have to be willing to put the time in to do it! I’ve painted many striped walls but my first few projects, the stripes looked great from afar, but close up it’s not the crisp line I was hoping for. This is a DIY tutorial of how to paint stripes on a wall and be sure to also check out the video tutorial at the bottom of page! 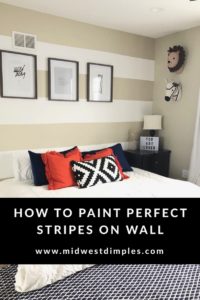
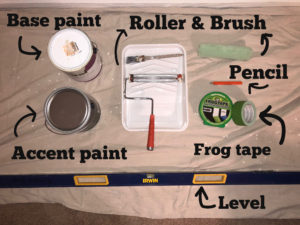
What you’ll need:
- Frog tape. The green tape, NOT the blue painter’s tape.
- Base Coat Paint
- Accent stripe paint
- Tape Measurer
- Level
- Paint brush
- Pencil
- Paint roller, roller, and tray
Step 1: Paint Base Coat
When painting stripes on walls, you are going to paint the wall a solid color. This color will be the base color. Your stripes will be painted over this color.
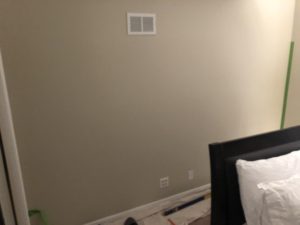
Step 2: Measure
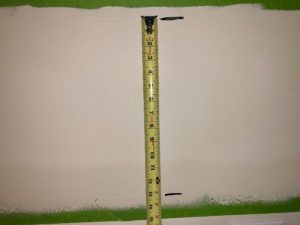
Next, you need to divide your wall into equal sections for you stripes. Depending on what type of stripes you want to do (straight, herringbone, etc…), thickness of stripes, how far you want them spaced apart, all needs to be calculated. For this project, I wanted thicker, horizontal stripes. Our wall was divided 7 times, making our accent stripes 13” wide. This only gave us 3 accent stripes and 4 base color stripes for this wall. Using a pencil, we made several marks as we measured from ceiling down to make it was consistent throughout the length of the wall.
Step 3: Level
Use a level to make sure the lines are straight and using pencil, make a couple dashes so you can line the tape appropriately. It helped having several marks throughout the length of the wall to make sure we were accurate, and the level corrected any mistakes. Best to re-measure to be sure they are all even. Measure twice, paint once!
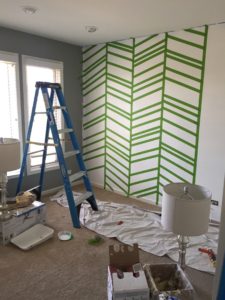
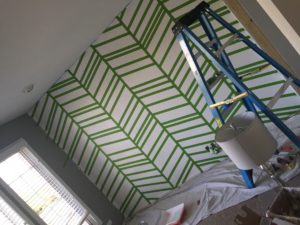
Step 4: Tape / Mask Sides
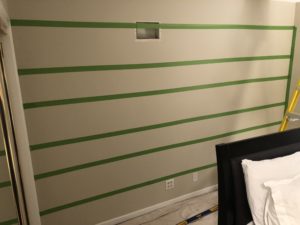
Tape your lines making sure that your tape is on the opposite side of where you’ll be painting. For the accent paint color stripe, the top tape should be ABOVE the line and the bottom tape should be BELOW the line. The width of the stripe is important so make sure you are taping it correctly! Use credit card or popsicle stick to smooth out any bubbles on your tape and to seal it to the wall.
If you are only painting one wall (vs. the whole room), you’ll need to tape any walls that touch your accent wall. This prevents getting paint on walls that you don’t want to get paint on.
Step 5: Prevent Bleeding
Using a paint brush (and/or roller) lightly coat the accent stripe tape with the BASE coat. This prevents any bleeding through your tape for your stripe. This gives you a clean, crisp line. I’ve skipped this step in the past which resulted in blurry lines and had to go over some spots to correct areas. URG! Best to avoid by doing this step!
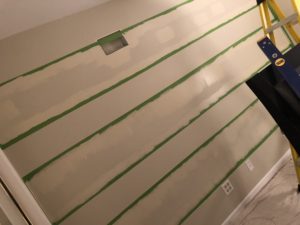
Step 6: Roll accent color on striped accent wall
Paint to fully coat. Be sure not to use to much paint on your roller, otherwise you’ll have drip marks on your wall. This was another rookie mistake I’ve done in the past. Try to add two coats of paint for your accent stripe and try to take the paint off as soon as your finished. You’ll want to take off the tape before it’s totally dry. I was blown away how perfect my lines turned out and really proud of myself! No bleeding at all and no need to go back and correct any blurriness! These accent walls add so much to my rooms!
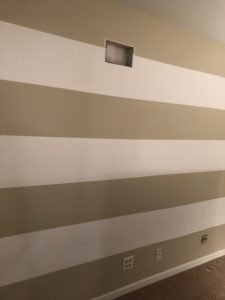
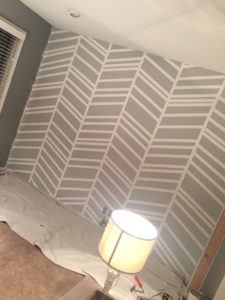
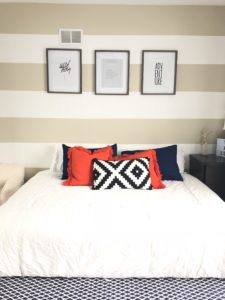
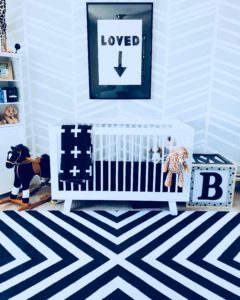
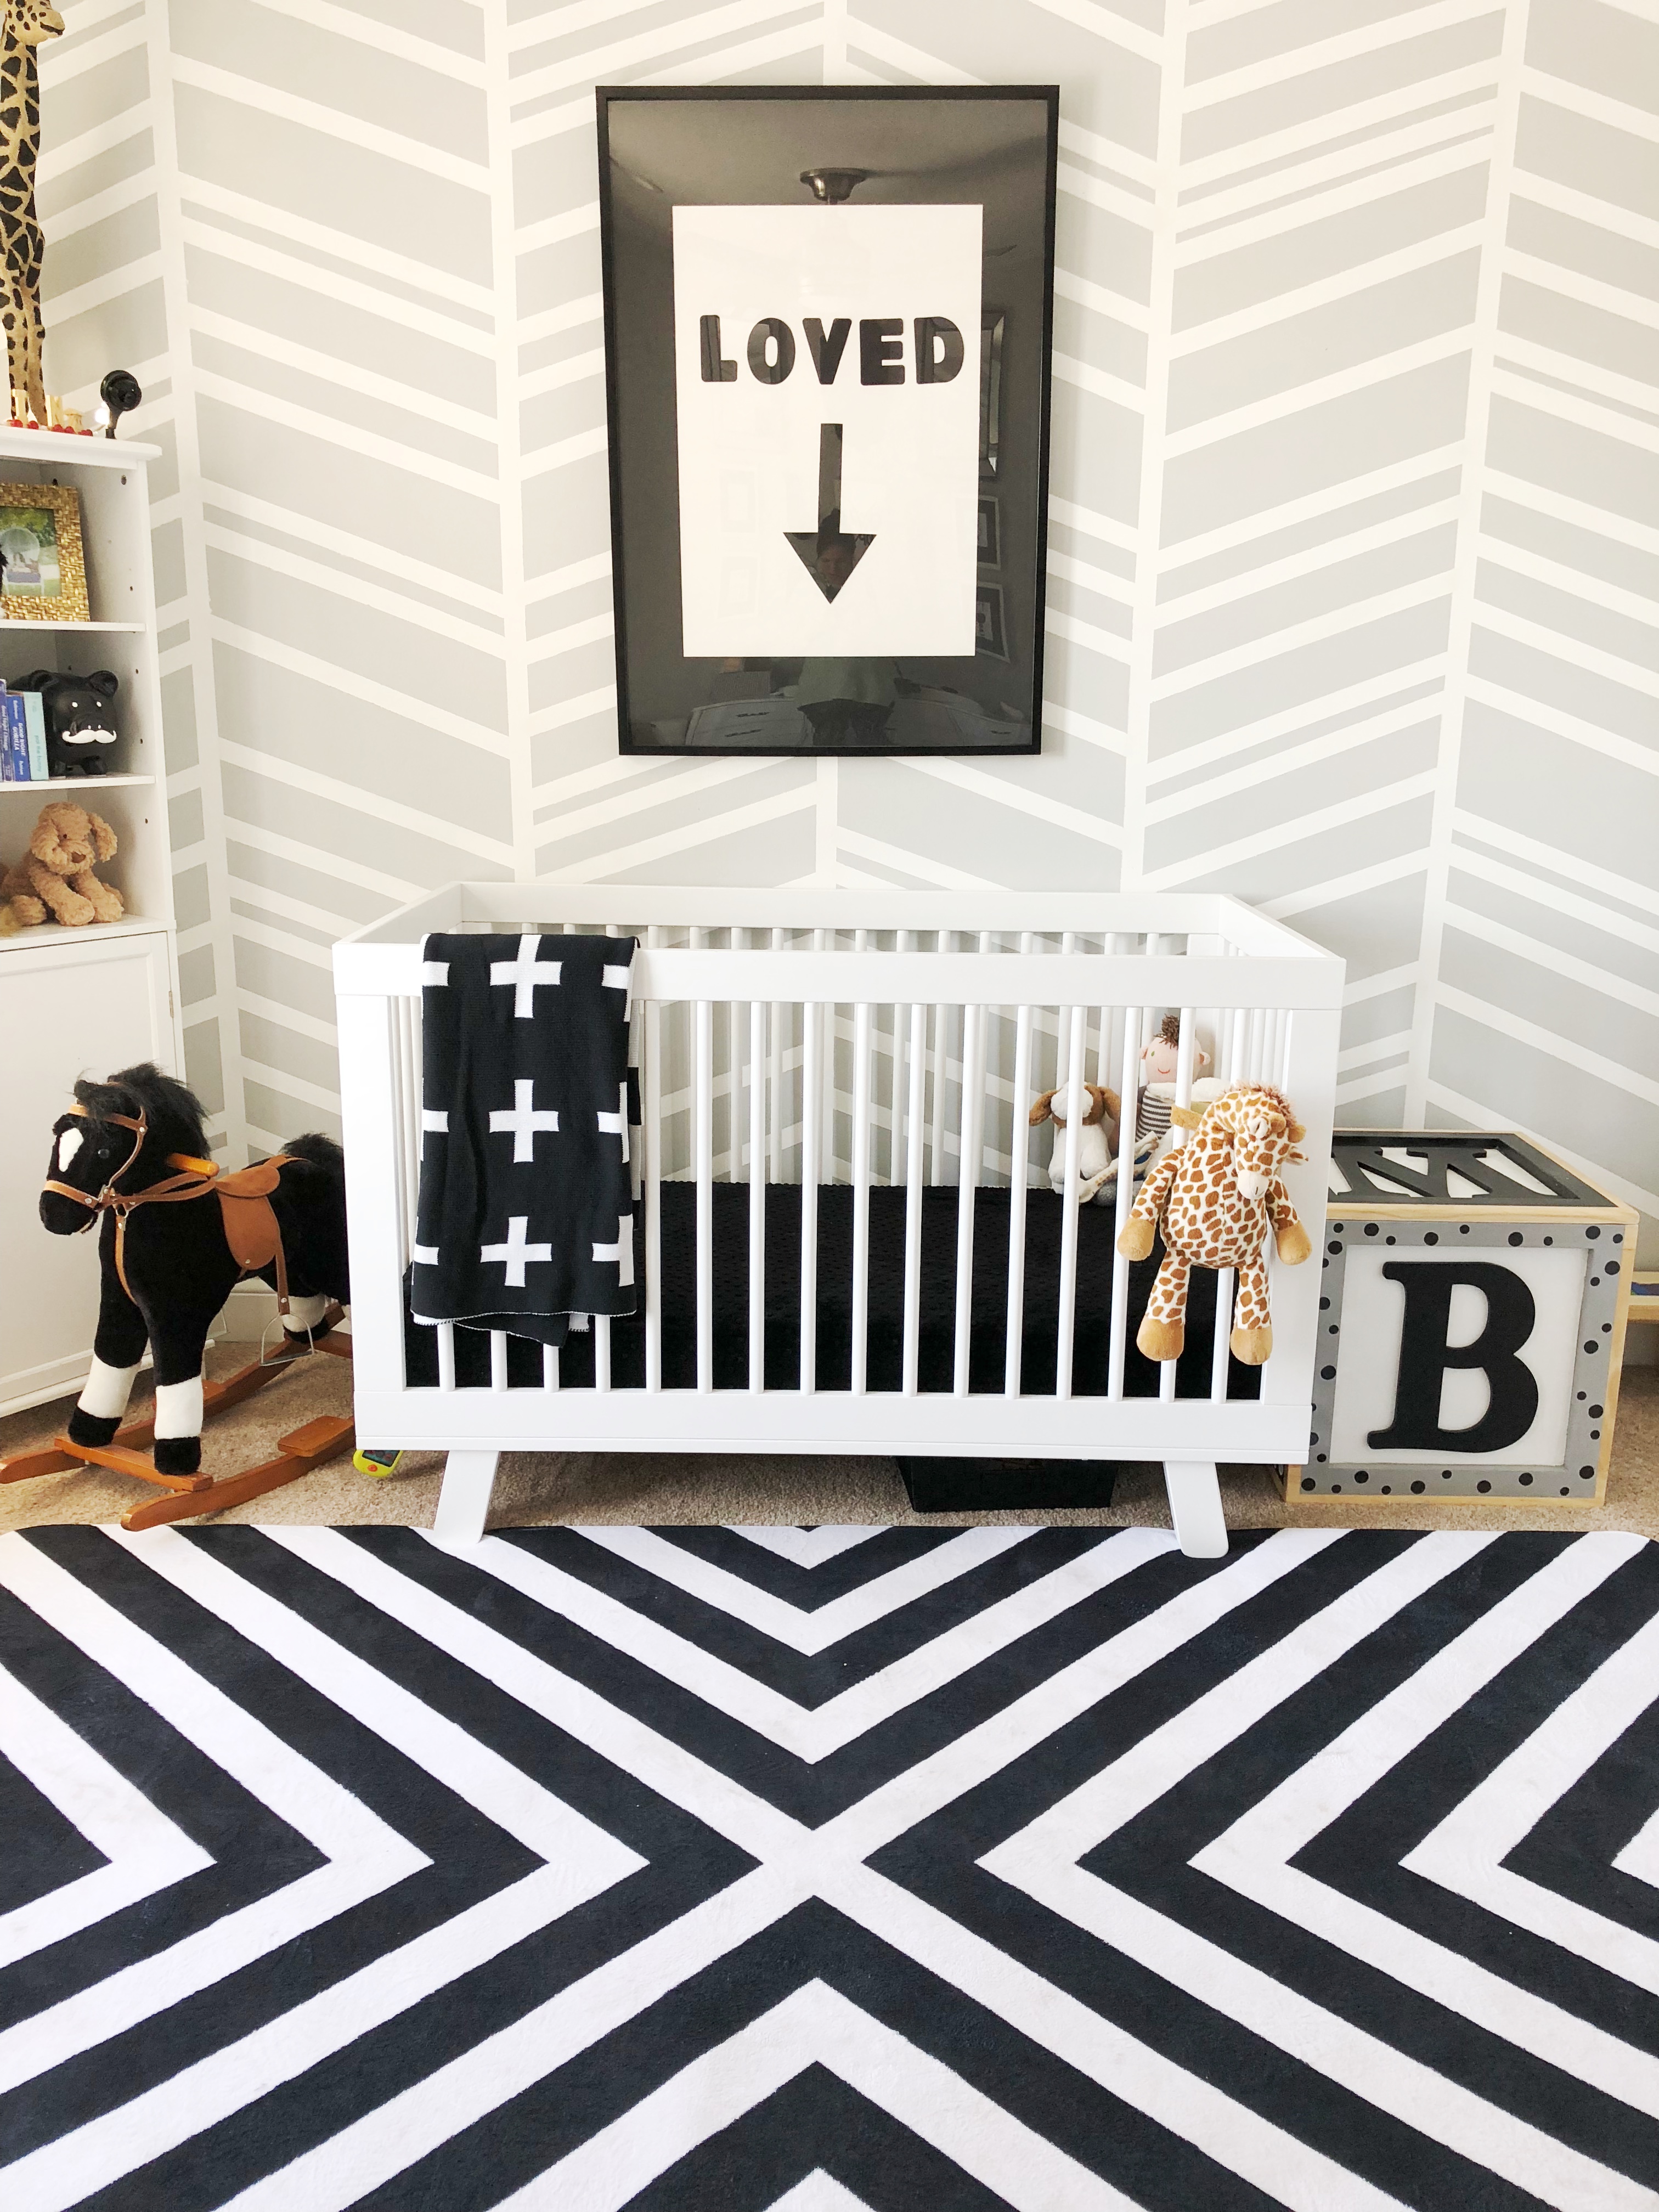
This is a very easy DIY project and adds so much to a room. Check out video tutorial of this project below! Check out my blog post on our gender neutral nursery with a painted herringbone accent wall HERE and I will soon be posting our toddler’s big boy room with all the details, including this accent wall, soon!
Video Tutorial: How to Paint Stripes on a Wall
Thank you for reading and let me know your thoughts! Have you ever thought about painting stripes on a wall?
Xoxo, Rachael






[…] underneath the tape to give that clean, crisp paint line. Be sure to check out my post on ‘How to Paint Stripes on Wall’ by clicking HERE and be sure to wash the video tutorial as […]